How to Make a Toy Prototype: Step-by-Step Guide
Key Takeaways
A toy prototype transforms your concept into something you can actually test, feel, and improve; skipping this step is the #1 reason great toy ideas never reach shelves.
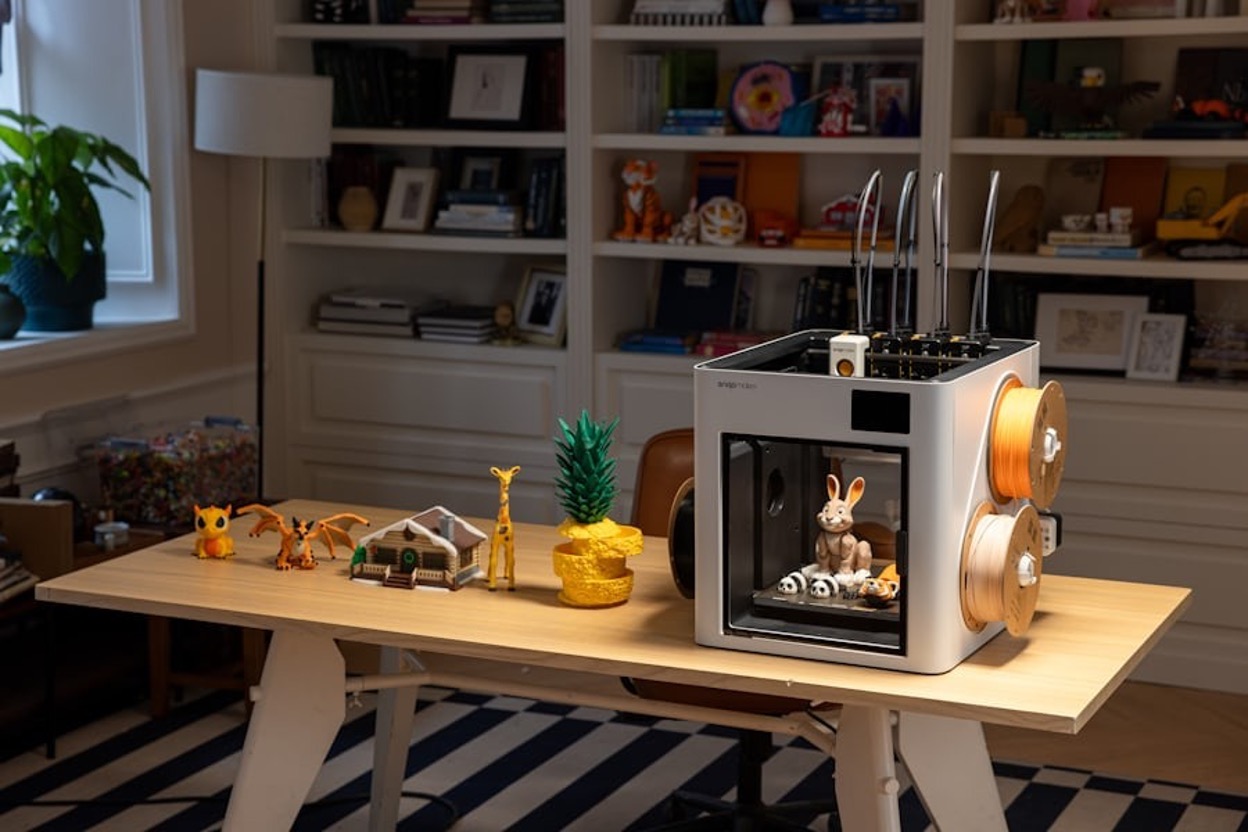
You can build a basic toy prototype at home using clay, cardboard, foam board, or basic craft tools without professional equipment.
Testing functionality at every stage of construction, not only at the end, is what separates a working toy prototype from a failed one.
There's a critical difference between a concept model and a working prototype, and confusing the two can cost you time and money with toy manufacturers.
At Rabbit Product Design, toy prototypes are built to survive manufacturing, not just look the part. We use production-grade materials and real engineering constraints from the start, because our goal is always a toy that ships, sells, and scales.
Your Toy Idea Needs More Than Imagination
A great toy idea means nothing until you can hold it, test it, and watch someone play with it. That's what a prototype does; it turns an abstract concept into a physical object you can evaluate, break, fix, and improve before a single dollar goes toward manufacturing. This process typically involves five stages: defining your concept, drafting a design brief, building iteratively, testing with real users, and refining until it's ready for manufacturing.
But before touching clay or opening a 3D modeling program, you need to define what your toy is actually supposed to do. Who is this for? What age group? What kind of play does it enable: imaginative, competitive, educational, or physical? These aren't marketing questions to answer later. They directly shape every material choice, mechanism, and dimension in your prototype. Skipping this step is how inventors end up with a prototype that looks great but doesn't work for the children it was designed for.
This guide walks you through the full toy prototyping process step by step, from preparing your workspace and assembling your first build to play-testing with real users and refining your design through multiple iterations.
What You Need to Know Before Building Your First Toy Prototype

Before jumping into construction, there are a few fundamentals that will save you time, materials, and frustration throughout the prototyping process.
Concept Model vs. Working Prototype: Know the Difference
A concept model shows what your toy looks like: its shape, scale, and general appearance. A working prototype proves that the core play mechanic actually functions. These are two different things, and confusing them is one of the most common mistakes new toy inventors make.
Spending weeks perfecting surface finishes before confirming the underlying mechanics work is how timelines stall, and budgets drain. Build for function first, then refine appearance in later iterations.
Creating a Design Brief & Production Plan
Before building anything, put together two short documents: a design brief and a production plan. The design brief defines what your toy needs to be, who it's for, the core play mechanic, the materials you plan to use, any size or weight constraints for your target age group, relevant safety requirements, and a rough cost-per-unit target if you're planning for eventual manufacturing.
The production plan defines how you'll build it. List every component your toy requires, arrange them in the order they need to be assembled, and note the tools, materials, and any drying or curing time for each step. Flag any steps involving cutting tools, heat sources, or adhesives that require safety precautions. A simple numbered list or table works; you don't need project management software. Together, these two documents keep your build focused and on track.
Plan for Multiple Iterations, Not One Perfect Build
Professional toy developers routinely go through multiple prototype iterations before locking a design for production. Your first prototype will have problems; that's not failure, that's the prototype doing its job. Budget your time and materials for at least three builds, and treat each round as a step closer to the final design rather than expecting to get it right the first time.
How to Make a Toy Prototype: A Step-by-Step Guide
Toy construction is the most hands-on phase of the entire process, and it will reveal problems with your design that no amount of planning could have predicted. That's not a setback.
That's the entire reason you're building a prototype instead of going straight to manufacturing. Every issue you catch now is one that won't cost you thousands to fix later in tooling or production.

Assembling components methodically and testing movement at every stage keeps your prototype on track and saves hours of rework later.
Step 1: Review Your Design Brief and Production Plan: Before picking up a single tool, revisit your concept drawing, user profile, and design criteria. Your production plan should list every step of the build in sequence, the tools required, and any safety procedures. If you don't have a written plan yet, create one now; building without it leads to skipped steps and prototypes that don't match the original intent.
Step 2: Prepare Your Workspace and Materials: Lay everything out before you start. Organize cutting tools, adhesives, forming materials, and measuring instruments within reach. Label any pre-cut components so assembly doesn't turn into a guessing game halfway through the build. Stopping mid-construction to hunt for materials breaks your flow and leads to shortcuts that compromise the prototype.
Step 3: Assemble Components One Section at a Time: Work through your production plan methodically, prioritizing stability over speed. Use the strongest appropriate adhesive for your material: epoxy resin for rigid plastics, PVA glue for cardboard and wood, and cyanoacrylate (super glue) for small, precise joins between hard surfaces. If your toy has any moving parts, spinning, rolling, or launching, test that movement at the component level before full assembly.
Step 4: Test Functionality During the Build, Not After: After each major assembly step, stop and verify that the completed section works as intended. Does the mechanism move freely? Does the fit feel right for the target age group's hands? Is the structure solid enough to survive enthusiastic play? These micro-tests during construction are what separate a working prototype from one that just looks like it should.
Step 5: Log Every Change as You Go: Every time you deviate from your plan, switching materials, changing a dimension, solving an unexpected problem, write it down immediately. A dated notebook, phone app, or simple spreadsheet all work. This production record captures what you actually built, not just what you planned, and becomes invaluable when briefing a manufacturer or building your next iteration.
Rabbit Product Design: From Toy Prototype to Toy on the Shelf

Our approach is to create products that reach the market and generate real revenue, rather than relying on prototypes or patents as the end goal.
At Rabbit Product Design, we help turn toy ideas into real products by focusing on what actually reaches store shelves. We build prototypes that survive manufacturing, not just play-testing, using production-grade materials and real engineering constraints from the start to avoid costly redesigns later.
Our process covers feasibility, concept development, design, engineering, production-ready prototyping, manufacturing setup, branding, and launch. Whether you're starting with a rough idea or fixing a stalled prototype, we guide you toward a toy that can be built, scaled, and sold.
Turn your toy idea into a real product today.
Frequently Asked Questions (FAQs)
Can I build a toy prototype at home without special equipment?
Yes. Polymer clay, foam board, cardboard, hot glue, and basic craft tools are enough for most toy concepts. The only types that genuinely require professional equipment at the prototype stage are those involving complex electronics, injection-molded components, or precision mechanical systems. For figures, puzzles, construction toys, and board game components, a home workspace is more than sufficient.
What is the difference between a concept model and a working prototype?
A concept model shows how your toy looks, while a working prototype proves the core play mechanic actually functions. The costly mistake is perfecting appearance before confirming the mechanism works. Build for function first, appearance second.
Do I need a patent before showing my toy prototype to manufacturers?
You don't need a patent before approaching manufacturers. Patent research is a useful early step to understand the competitive landscape, but filing (even a provisional) should be a deliberate choice, not a default one. At Rabbit Product Design, we believe getting to market with a real product generates returns; a patent without a business behind it rarely does.
How does Rabbit Product Design approach toy and consumer product prototyping?
At Rabbit Product Design, we build functional prototypes using production-grade materials that reflect real manufacturing constraints, not models that create false confidence. Our process runs from feasibility and concept development through industrial design, engineering, manufacturing setup, and launch planning. Every prototype is designed with production in mind. If a design can't be manufactured efficiently at the right cost, we identify that during prototyping, not after tooling has been cut.
*Disclaimer: This content is for educational purposes only and not financial, legal, or business advice. Figures vary by circumstance. Consult qualified professionals before making decisions. For personalized guidance, contact Rabbit Product Design.